Friday, May 21, 2010

DIY...at Home: Chipboard Mini Album Workshop

Right now I'm putting together the Tip Sheet for the Chipboard Album class I'm teaching tomorrow at the scrapbook store where I work, Whimzee's Scrapbook Studio in Beaverton, Oregon.  I originally wrote the parts of this post as a DIY class for the store blog.  As I was doing research for my class, I realized that I haven't put many classes (workshops, tutorials or whatever you want to call them) on this blog.  I think I'm going to start including some here, so everyone can see how I put together my projects and maybe they'll want to try something new.  I have a few on the store blog, so I'll probably use those first while I figure out what to share with you all next.  If you want to get a head start on the rest of the class, zip on over to the Whimzee's Girls Online Blog and click on classes down the right side column, I've got a few fun mini album classes over there.  I'm off to get everything together for tomorrow, so I hope you enjoy your Friday!  And don't forget stop by my friend Ann's Virtual Girls Night Out tonight, she's lamenting being older than PACMAN and I'm right there with her!

PART 1 - Gathering the Supplies


I want to share how easy it is to create a mini-album with a Bo Bunny My Word chipboard album. I chose the PARTY album. For your own project, feel free to choose any of their albums (or any other chipboard album that suites your fancy). The techniques are interchangeable between chipboard albums.

See all of Bo Bunny's My Word Albums and check out their completed projects on their website.  Click HERE for Bo Bunny's Tips & Tricks for these albums. 

I started with my PARTY album, Junkitz Salsa Celebration collection papers, Creative Imaginations Art Warehouse Candles & Cakes collection papers, craft paint, Creative Cafe rings, Blossoms & Leaves by Creative Impressions, any coordinating ribbons I could find.....and most importantly Spray Adhesive.

As far as tools, I like to cut with my large Fiskars paper cutter. I used my lime green Doodlebug Designs craft knife and cutting pad, it's so nice when things can be so useful and also so stylish! I used Glue Dots and Hermafix squares to attach the embellishments on my pages. I decorated my pages with Fiskars Acrylic Stamps, brown ink and numerous shapes cut out in the store on the Cricut using the Alphalicious font cartridge. I love the Cricut! We have it available for you to use in the store for a $2 fee. It's so easy to use and we have lot's of fonts for you to choose from.

So after collecting all of my supplies, I was ready to start the project.

PART 2 - Choosing & Adhering the Paper


First I take a look at both sides of each paper. I use double-sided papers for the Bo Bunny albums. I make sure I choose papers that are truly 12 x 12 inches in size. (Just a few of our papers are slightly smaller than 12 x12.) I trim any white strips from the edges, on these papers there were white strips showing the manufacturer & collection names, UPC, etc. Next, I cut each piece in half, forming a 6 x 12 inch piece. I sort them and flip them from front to back, just seeing which patterns I like together.

When you make one of these albums, you have to choose a paper to cover both sides of each letter. So be sure to look over your choices for, say the back of the P and the front of the A, to be sure they look nice together. It's possible to mix & match small prints with large, dark backgrounds with light. As long as you choose papers that coordinate, it makes no difference if the papers come from the same collection. For this project, I choose two collections that I like together. If you aren't confident you can mix the collections, lay everything you like together on a table in the store and see what you think. Don't be afraid to ask one of the Whimzee's Girls for help, or ask someone who's scrapping that day, everyone has an opinion and one person might see something another misses. If you want a fail safe, quick way to choose your papers, pick them from one large collection. Some of our collections are very deep in their choices. Some of my favorites are Bo Bunny, Basic Grey, Chatterbox, Cosmo Cricket, Little Yellow Bicycle and Reminisce.

After I choose my papers, I use spray adhesive to adhere the paper to the chipboard. I like to use spray adhesive outside or in the garage. Not only does it have a strong odor, but the over spray creates a sticky surface on everything it touches.....your table, floor, carpet, etc. I spray the front of each letter and carefully lay the paper I have chosen for its front over the adhesive, lining the edges of the paper with the edges of the letter first. Spray adhesive is a bit forgiving, so you do have a little time to lift the paper in case it isn't perfectly lined up on your first try. After you are happy with the position of the paper, lay everything on your table and press the chipboard firmly onto the paper. Set the letter aside and repeat the process with each letter. By the time you're finished with this process, the first letter should be dry & ready for trimming.

PART 3 - Trimming the Paper


Be sure to use your knife to cut out the paper covering the 3 holes in the end of each letter at this point.

Next, repeat the instructions in Class #2 for the back of each letter. Don't forget to remove the paper from the back sides of the 3 holes.

PART 4 - Painting the Edges


After you cut the excess paper from each letter, it's time to paint. Choose a paint color that runs through each page or one that coordinates with all of your papers. I use acrylic paint. I mix colors together to achieve the look I like. If you can't find a paint in a coordinating color, you might want to give mixing your own a try. If you aren't in to mixing, maybe black or brown would look nice with your paper, eliminating the extra step of mixing.
Instead of paint, you could use a small ink pad to ink the chipboard and paper edges. Personally, I like acrylic paint the best because an applicator sponge allows me to get into tight corners that an ink pad doesn't.
Once you have the paint you like, dip a paint applicator just barely into the paint. Touch the applicator to the edges of your letters, dragging it slowly along all the edges. I like a thin border of paint on the outside of my letters, so I just touch the applicator lightly along the edges. If you would like your border thicker, use a little more pressure when you drag your brush along the edges. After painting the edges, use the applicator along the inside edges of the letters with "holes" in them. (In this album, the P, A & R have inside edges)
Lay your letters on wax paper and wait for them to dry. Do be sure to look at both sides of the letter, so that you can be sure you have covered the chipboard edge up to the paper on both sides.
After the letters all dry, place the rings inside the holes and arrange your album. You can embellish the pages while the album is hooked together with the rings or take it apart for easier access.

PART 5 - Ribbon, Ribbon & More Ribbon


On of the things I love about the Bo Bunny My Word albums is that I can go crazy with one of my favorite embellishments....RIBBON! I like to squeeze in some ribbon where ever I can, in my projects. For this album, I chose lot's of white background ribbons with dots & words like...party, celebrate, birthday. I also picked some lime green shimmery ribbon, a red sheer ribbon with a swirl pattern and a medium blue rick-rack. I don't have too much rhyme or reason to how I pick the ribbons. I usually grab all the ribbons I can find in the store that are coordinate with my paper and make a pile of them on the counter on top of the paper. I try to pick a variety....pattern, solid, printed, shaped (like the rick-rack). I think a bit of everything mixed together looks great in a project like this.

I buy about a yard & a half of each ribbon for a project like this. Next, I cut the ribbon in 4 inch pieces. Since there are 3 rings, I cut three 4 inch pieces. I use the rest of the ribbon to tie on the letters and to decorate the inside of the album. Take your 4 inch pieces and tie them, one at a time, onto the rings. Being a type A person, I divide my ribbon so that each ring has a piece of each ribbon. You can do it however you like, really, one can have too much organization in her life! I just tie the ribbon around the ring once, so that there aren't too many big knots taking up room on the ring and I like the ribbon ends to be a bit longer.

For my PARTY book, I used 7 different ribbons. The number is up to you. If I found wider coordinating ribbons, I would probably only use 5 or so. I think it really depends on how many ribbons you find that you like. As far as ribbon goes, I'm not a "less is more" kind of girl!

PART 6 - Embellish it!


OK, now the fun part! Take all the papers & ribbons you have left, flowers, brads, and any of your favorite embellishments. It's nice to see everything at once, so you can decide what fits & matches with each page. I like to take ribbons & tie them around any edges I can. For this project, I tied ribbon around the A, R & Y. (NOTE: I liked the way the double sided paper showed through the holes in the P & R, so I left it this time & didn't cut it away when trimmed around all the other letters. Just check out everything before you trim to see if you might want to leave anything.) For this project, I used the Cricut at Whimzee's & its Alphalicious alphabet to cut out a name & some other shapes. I'm giving this one to my friend's daughter, Josie, for her 1st birthday, so I wanted to put her name & age on it. I stuck with the scraps of the papers I had already used for most of my inside pages, and I added a little coordinating cardstock. I also used a set of Fiskars clear stamps (a birthday set) and brown ink to add a little something to many of the inside pages. There were so many colors in these paper collections, that I thought brown would go with everything. And I wanted the ink to be subtle, something you might miss on first glance but would stand out after you took a few looks at the album.


So let's check out the pages:

Since this is a gift & I don't have photos, I took scraps from the project and cut shapes that I thought would work well as backgrounds for photos. I used a square & a circle on this page. You could put a photo in the circle or a little piece of memorabilia. I snipped a couple pieces of the party hat paper to use as decoration. Next, I layered two flowers together with a leaf and held them together with a small silver brad. Glue dots are the best way to adhere plastic items and ribbon to paper, so I used them throughout the book. I added a piece of ribbon, to the edge of the square photo, being careful to include the words "happy birthday" in my piece. I then closed the page and saw a little area of the A showing through and decided to put a little "make a wish" stamp in that space. For one last touch, I took a piece of dotted ribbon and wrapped it around the page, through the hole in the A, leaving the knot and long ends to show on the next page.

When I put the ribbon around the A, I used a large needle tool to poke two holes into the ribbon. I put one flower & brad in each hole and tied the knot in the ribbon. All that was left was to add a square photo background. I like to use the paper from the facing page to make a background. Since I already made sure the papers coordinated, it was easy to pick the facing paper for this page. And on this page it was extra easy...the paper on the back of the A is the back side of the paper on the front of the R. As far as embellishing the front of the R, I went a bit conservative here. Since the back of the A is pretty busy, I placed one background (see, it's the facing paper again) and a small piece of green ribbon on this page. I like being able to see some of the words on paper that has so many words. I did use another stamp with brown ink here. Near the top of the brown box, I stamped a group of balloons that peeks out when the book is closed.


On the next pages, I love these dot patterns and wanted them to stand more on their own. I used the back sides of the papers as photo backgrounds. On the left, I placed two pieces of ribbon under the background with the words "birthday" and "party" sticking out. For the right, I used one large photo background and one small square with a stamp and a plastic flower & silver brad in the corner. I like the look of all the dots in circular patterns covering these pages.


For these pages, I used two different photo backgrounds. On the left I chose the party hat paper and cut it about an inch larger than I originally thought I needed. I used the extra room to place two thin yellow paper pieces, stamped with birthday sayings, placing them on the left and bottom. I used two flowers and brads, one on each piece of paper in the extra space at the ends. For the right side, I used pink cardstock, cut a little long, with a stamp along the edge. For a little extra zing, I put three pieces of ribbon, folded in half under the side of the background with the edges sticking out. On this page, I used the pink dot paper to cut a large "1" & small "st" on the Cricut and adhered them so that they could be seen when the book was closed.


For the back of the album, I used a turquoise dotted piece as a background, cutting it extra long along the top. To give the impression of a gift, I tied a ribbon on the side of the paper with the knot at the top. Then I used a few last flowers, layered two on a brad, and arranged them in a triangle on the left side.

I was excited to finish the project and can't wait to have my friend unwrap it for her daughter and use it to showcase the photos from her first birthday. I love the Bo Bunny My Word Chipboard Albums. And I think that whoever receives them as a gift will cherish them as keepsakes for years to come!


Photobucket

Friday, May 14, 2010

Layout of the Week - Our Peaceful Free Spirit

Sorry I've been away from blogging for so long!  I've been in a bit of a funk for the last few weeks.  Just a combination of coming back to the rainy weather from tropical Mexico, not getting enough sleep, lot's to do at work & school, mortgage issues (don't get me started on this one...) and wondering where my time would be best spent.  You know, those problems all of us have.  But this week I decided I was going to get out of my funk, start working out again and try to get back to my regular routine...at least until school is out for the summer and it all blows up in my face again!  The appearance of the sun here in Northwest Oregon definitely helped urge me along in my effort to get back to normal.  A little sun can do wonders for your mood!

So I'm back at the blogging gig!  And I have a layout to share with you that matches my newly sunny mood this week!  I create this one during my stint working at our National Scrapbook Weekend Crop.  I had been looking for the perfect papers & embellishments for these photos of Delaney we had taken at Sears.  She's wearing her favorite birthday outfit from her favorite store Justice.  She's really into t-shirts & skirts, bright colors, peace signs & a little bling.  We love how these photos turned out...just like a magazine ad!


Tips

Save money and create a beautiful double page layout by cutting a large die cut in half and placing one half on the inside of each page.  The great die cut effect is now part of both of your pages.

Add a fun embellishment by using die cut felt self-adhesive ribbon trimmed into pieces & added to your projects.

Try tearing & sanding your Core'dinations cardstock!  The inner layer of these great textured cardstocks comes in lot's of great colors that can be revealed by tearing, sanding & embossing.

Supplies

Little Yellow Bicycle Free Spirit collection papers & stickers
Core'dinations cardstock
Kaisercraft Fozz Felt Ribbon
Prima paper flowers
Boxer buttons

I shared this Layout of the Week...

with Today's Creative's Get Your Craft on Tuesday


and with the ladies at Ann's Friday Night Virtual Girls' Night Out

Photobucket

Tuesday, May 11, 2010

Making Time to Be Creative

Check out my latest article published on the Oregon Women's Report Website!  I thought I'd share a few of the ways I squeeze my creative projects into my busy days.  I'm always looking for new ideas, so share the ways you manage to get creative in the comment section!  I'd love to hear from you!

Making Time to Be Creative

Posted using ShareThis

Friday, April 23, 2010

Layout of the Week - Punky Posh Mini Album with Punky Sprouts & Chatterbox Part 2

I thought I'd share a few detail shots of the album I featured last week.  I'm still in love with this album.  I have some more ideas for creating a totally different look with this same album.  I did make another of Punky Sprouts's albums last week.  And after I return from my relaxing vacation to Mexico, I'll share it with you.  I'm in Mexico as you're reading this, hopefully laying in the sun sipping a margarita celebrating 40th birthdays with a couple of my closest friends.  I don't have my 40th for a few months, but we're all going to celebrate all year...there's no law against that...is there?


I like to embellish these little mini albums with all sorts of things.  For this one, I added some tags, ribbon & twine.


I liked the burlap page I made so much, I added a little scrap to the cover.  It was fun piling things on the cover over the dry brush painting I had completed earlier.  I think the date tag is a great idea, it's always fun to remember the exact date of an occasion.  The felt birdie was a fun last minute addition when I thought the empty space was a little too much.


For Delaney's page, I created a girly look...sparkly glitter paper, velvet flocked paper with a scalloped edge, pom pom fringe, ribbon and a butterfly.


I created my own page to add to this album, trimming burlap and using a zutter hole punch to create the holes.  I thought the rough texture suited a rambunctious little boy!  I added the bit of ribbon on the right at the last minute, just pulling on the burlap's twine pieces to create a space to weave the ribbon.


This was my quickest page of this album, just a square of lime paint to frame my photo.


This page probably took the longest to create.  I wanted a brown canvas page, so I got some at my local sewing shop and cut two pieces the same size as the album's other pages.  I used my sewing machine and ivory thread to add the details.  I'm not very experienced with the sewing machine, so I tried out the scallop stitch on this project.  It's so nice that when we use machine stitching on papercrafts people don't expect or want perfectly straight lines.  This would drive my mother nuts, she's such a great seamstress and tried for years to teach me to sew.  But she was forever pulling out my mistakes and I finally gave up.  I'm excited I finally found a use for that sewing machine that was stuck away in a closet!  And thank goodness, I still have my mom to do the "real" sewing! :)

Oh, and I love the felt embellishments that Chatterbox made to match these collections, so cute and self adhesive too!


On the back of my canvas page, I stuck with little circle embellishments and a tag to create a boyish look.


This was another quick page.  Delaney is our artist, she loves all things creative.  So I just grabbed a foam brush, dipped it into the paints I was using on this project and randomly added touches of color to this ivory canvas page.  For a final touch, I added a little tag & some fun embellishments from my packs.


After the last busy page, I wanted to calm things down a bit.  I used the self adhesive felt embellishments on this one.


I love acrylic, especially when it's mixed with other types of pages.  For the acrylic, I painted the Tropical Water paint around the edges with a small, dry regular paint brush.  When you try this type of technique, don't be too perfect, the messy look is in! :)  I used a Crop A Dile tool to punch two holes in the right edge and then tied a couple ribbon knots as accents.


I like how the acrylic page looks when it's turned & placed over the photo on the left too!


This page is on the right behind the acrylic.  I used a patterned paper to cover this page and then placed a smaller torn, inked piece of foiled paper on the left.  Next I inked around the whole page and added a little garden twine on the left, as a fun contrast to the foil paper.


For a fun Jake page, I chose a checked paper and some star & button embellishments.


For my last Delaney page, I used acrylic stamps and my lime & tropical water paints to stamp some flowers onto the canvas.  It was fun adding a little tag & butterfly as a finishing touch.


Again I used the stamps and my two paint colors for this page.  For my little journaling, I used a letter stamp that creates an old fashioned typewriter still look.  I stamped, "At Home Together, Our Favorite Place," in brown ink.


This acrylic page was my biggest stretch yet....  I used a large Technique Tuesday stamp in Versamark ink and then added lime embossing powder and heated it with my heat gun.  Just let me tell you, this technique is not for the faint of heart or perfectionists out there.  The acrylic folded up all funny while I was heating the powder.  I was doing this page while I worked a crop at the store and boy everyone was nervous about how it might turn out.  I'm pretty sure they all thought I'd ruined the page.  But I grabbed two pieces of white paper and used them to help me flatten the acrylic back to its shape.   I think it turned out great!  It definitely isn't perfect though.  There are a few little spots of embossing powder that didn't get blown off the ink and created little green spots.  And the acrylic isn't as flat as I would like it to be.  But I love the look and don't really mind the bumpy-ness of the page.  What project is really PERFECT in the end anyway.  How would you know it's homemade if it's perfect!!!?


Here's the stamped, embossed acrylic page laying over the page to its left.


For my final page, I used the teal blue flocked paper, a bit of ribbon and a little monogram tag.

As you probably noticed, I used sepia tone photos again on this project.  If you've never tried them, you definitely should.  It's impossible for me to imagine how busy this album would be with color photos.  And of course the perfectionist in me loves when color schemes are in harmony in my projects.

You should also know that it's OK to just shoot some photos around  your house or yard and use them in a family album.  This wasn't a photo shoot, we were just hanging out outside in the yard on one of the few warm spring days here in Oregon.  I did get my mom to shoot the family photo, but the rest are just candids my husband & I shot with my point & shoot.  So don't worry about everyone matching and setting an appointment, just get together & take some photos.  Depending on your chosen papers, sepia tone or black & white can cover a million color matching mistakes!


I decided to skip photos on the back cover.  Just a little paint & a dry brush...the ribbon is tied around the whole page.

Supplies

Brown Cardstock - American Crafts
Patterned Papers - artsy.licious, Fabulous and Together by Chatterbox
Embellishments - Tags, Buttons, Journal Boxes, Ribbon
Kaisercraft - Acrylic Paint: Lime & Tropical Water
Ink - Brown Pigment Brush Pad by Color Box and Versamark Pad
Stamps - Technique Tuesday and Provo Craft
Embossing Powder - Zing by American Crafts
Ribbon - Various Manufacturers
Garden Twine - Unknown Manufacturer
Sewing Supplies - Burlap, Brown Canvas and Ivory Thread from Local Sewing Shop


A little note from Julie...I hope you're all having wonderful weeks!  I am in Mexico this week to help my friends celebrate their 40th birthdays (well, I'm celebrating mine too, albeit a bit early!).  I can't wait to see what I can find on my vacation to inspire my next project!  Have a wonderful weekend! :)

Sunday, April 18, 2010

Blog of the Week: Meet Melanie from Bags by Melanie

Today is the first day of a new feature here on JulieChats.  Whenever I get a chance, I want to feature other creative bloggers on my blog...every so often.  The world of creative bloggers is huge and I think it's a great way for us to meet other creatives from all over the world, so enjoy my first feature & check back soon for more....

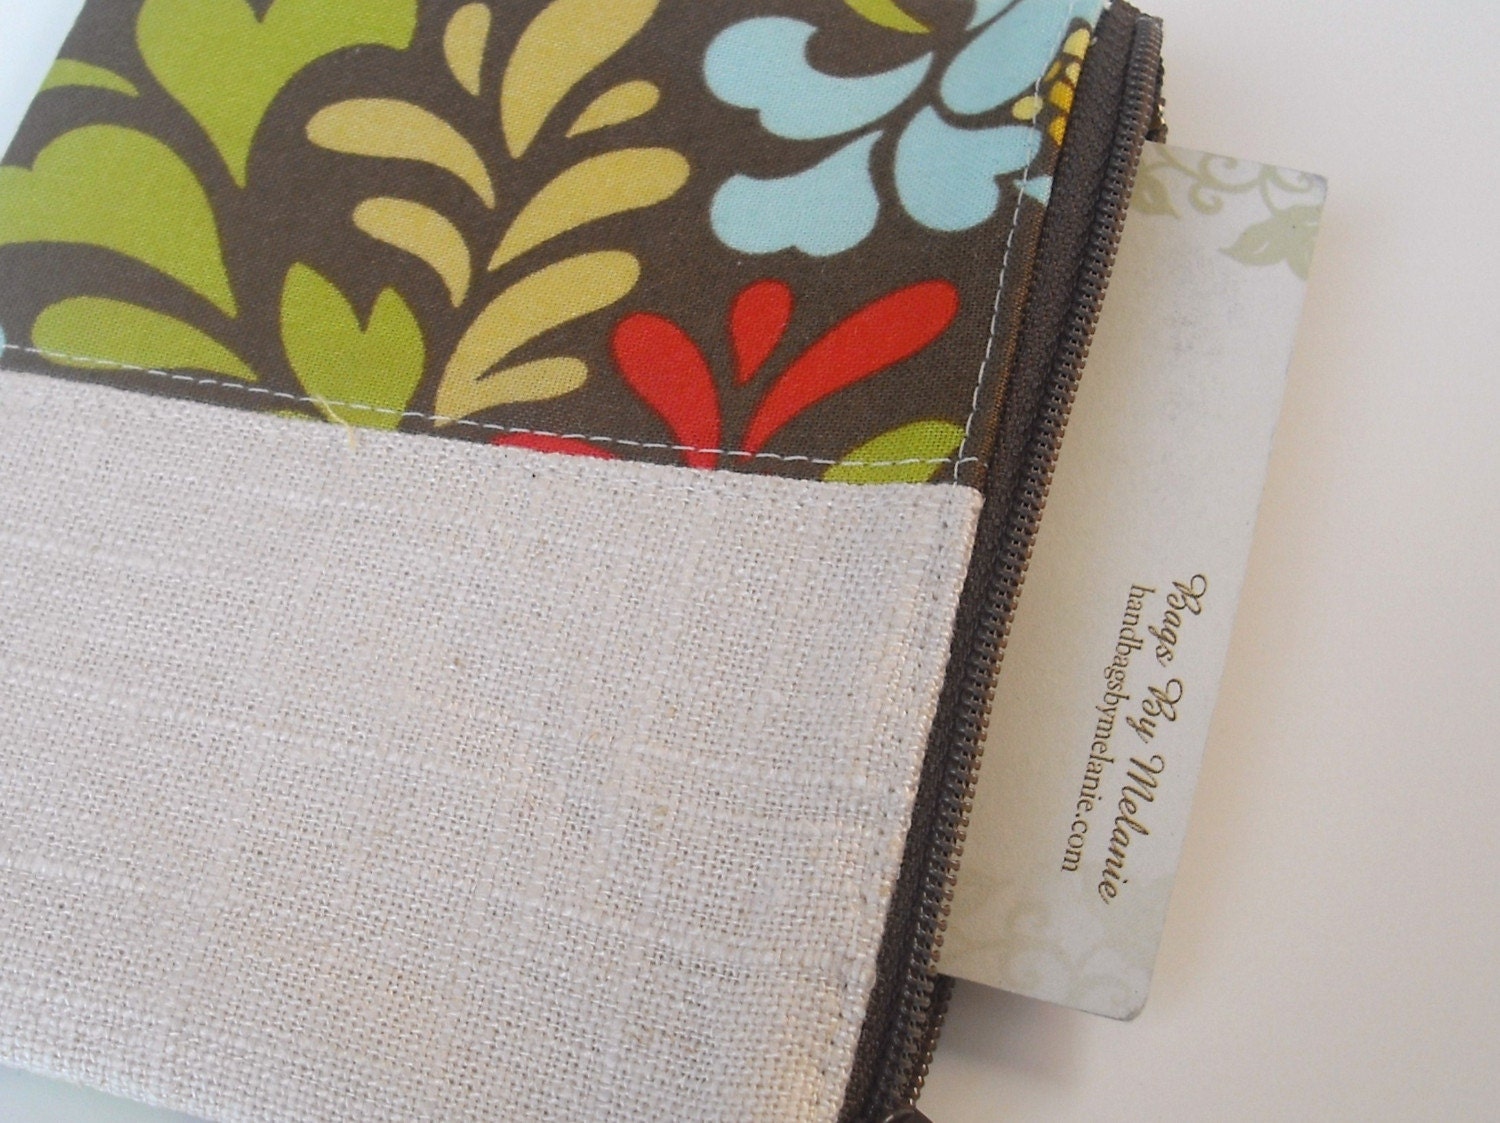
I want to introduce you to a new friend of mine...Melanie from Bags by Melanie!  I met Melanie in a group I'm involved with in Creative Bloggers online community.  I'm excited to share Melanie's creations with you!  I love her litte bags, perfect for stowing your business cards in your handbag without bending them.  I've got to order myself one of these for those blog business cards I created a while back.


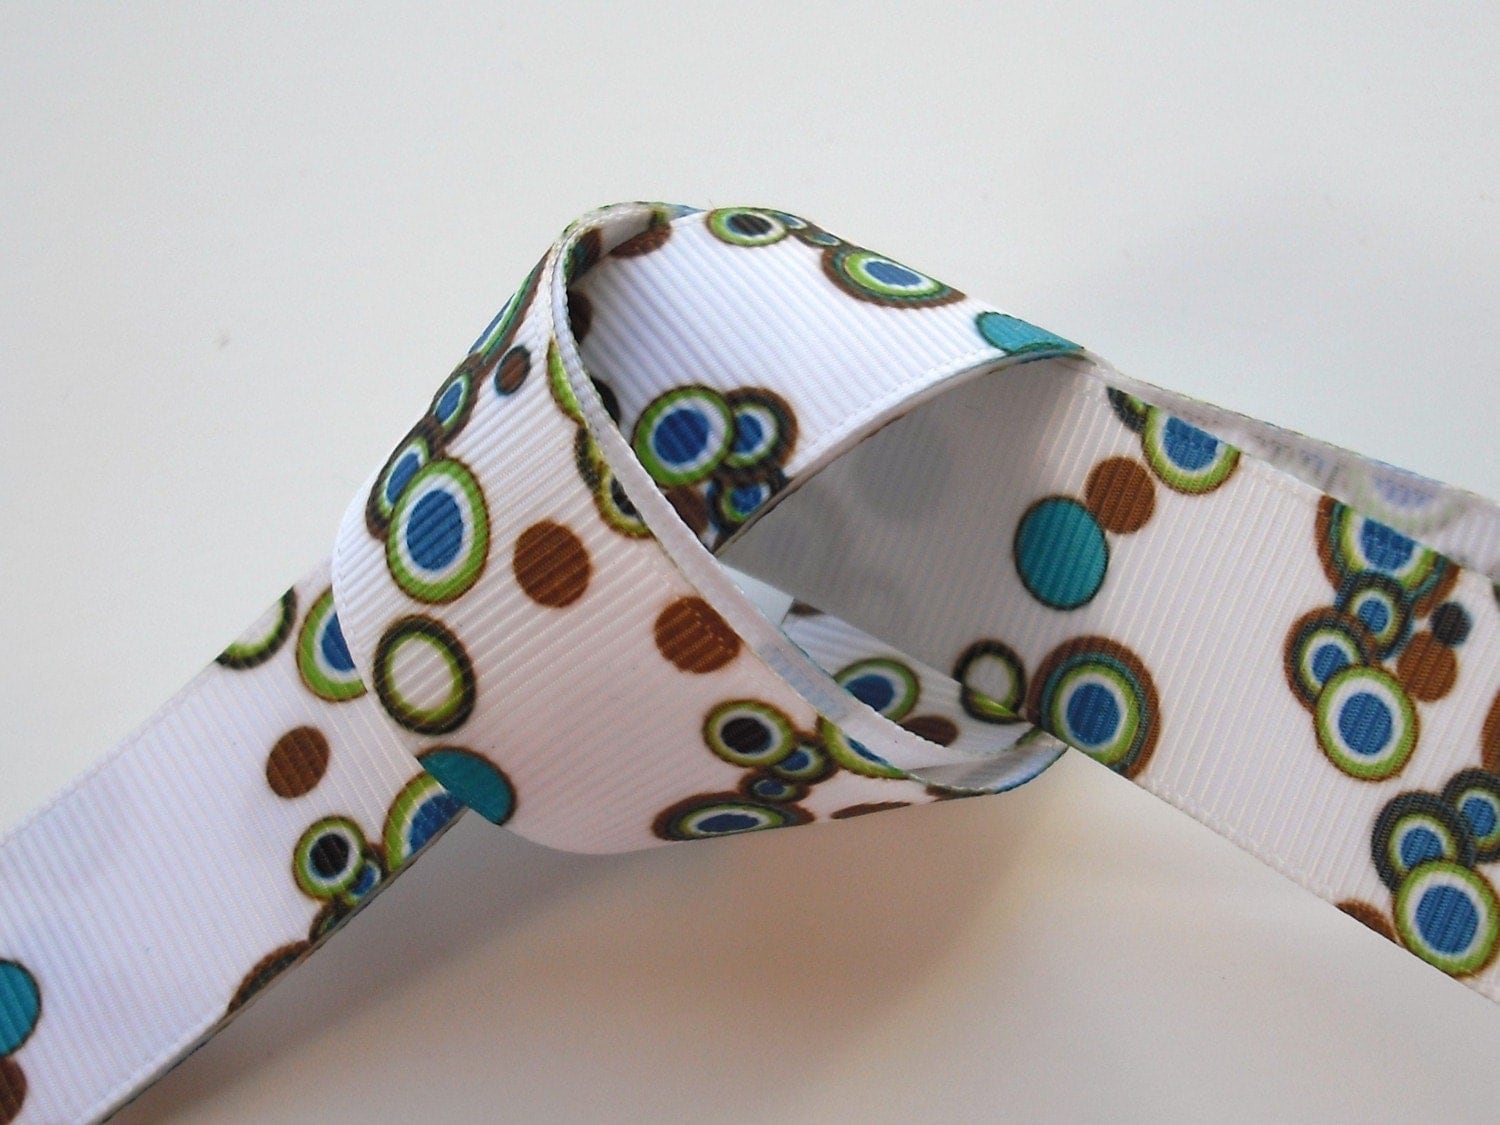
And for you scrapbookers out there, Melanie has a second Etsy shop she started with a friend to sell all those extra supplies left from their joint creative endeavors.  Stop by Blinky & check out all the fun crocheted flowers, ribbons & even Sizzix supplies.  I'd love to have some of their funky ribbons, this one is a favorite of mine...


Stop by & visit Melanie on her blog and in her Etsy shop!

If you're looking for a fun way to promote your creative blog, stop by Creative Bloggers and check out all the groups you can join.

Thursday, April 15, 2010

Layout of the Week - Punky Posh Mini Album with Punky Sprouts & Chatterbox Part 1


Ta Da!  I shared a sneak peek of this album with you last week and here is the finished product!  As you can tell, I'm very excited about this mini album!  I love all of the albums from Punky Sprouts, who makes these very cool albums.  The albums all include pages made from chipboard, ivory canvas and acrylic.  The comb binding on this album, Punky Posh, holds the pages together very loosely.  The binding is loose so you can pull the pages out, decorate them and replace them on the binding.  The flexible style of these albums is my favorite quality.  It allows you to push your creative boundaries as far as you want on each project.


I took this album home and my first thought was that I should add some of my own pages into the mix.  After reading about so many creative uses for burlap all over the blogosphere, I just had to use it in this album.  And with my love of sepia tone photos, I knew that a brown canvas page would look great too.


To decorate my album, I chose papers, ribbons and embellishments from the Together, Fabulous and artsy.licious collections by Chatterbox.


If you're looking for more fun ideas using the Punky Sprouts albums, check out their blog!


As for me, I'll share some more detailed photos of this album in Part 2 of this post next week.  I'll be writing it this weekend as I pack for my trip to Mexico.  I'm lucky enough to be celebrating my upcoming 40th birthday with two close friends I met in the dorms my freshman year at UofO.  We'll be laying in the sun & having a few margaritas this time next week.  After I'm back, I promise to make more rounds of all the cool, creative blogs out there!

If you're in need of a party tomorrow night, don't forget to stop by Ann's Virtual Girls Night Out.  You'll meet lot's of other fun bloggers and get tons of comments for your blog.

If you're looking to find other creative bloggers, stop by Today's Creative for Tuesday's Get Your Craft On Blog Hop.

Thursday, April 8, 2010

Layout of the Week - Spring Mini Album Project & a Punky Sprouts Sneak Peek

I've been a little busy lately to finish any actual layouts to feature as my "Layout of the Week," so I'm sharing what I have been working on.  This Saturday I'm teaching a class at the scrapbook store where I work, Whimzee's Scrapbook Studio in Beaverton, Oregon....in case you're in the area & want to sign up!  I taught this class at Christmas and a few people asked me to do it again.  I thought a Spring theme would be fun for the little mini album.  You could use it for a great Mother's Day gift or maybe for a special friend's birthday.

This project takes 3 pieces of cardstock, up to 14 different patterned papers, a couple feet of ribbon, lot's of adhesive and TONS of patience.  In just a couple hours you too can have a fun little album with lot's of little doors to hide all your photos & journaling.

I hope you're in the area so you can sign up for my class!  It really is much easier to make the album with a little help from someone who's done it before.  The instructions are kind of confusing, but if you're handy, you can probably make one up from my photos.  Give it a try when you have a couple hours & want to try something new.

I've got to get back to my projects for this week, two Punky Sprouts albums.  I've been very excited about Punky Sprouts for a few weeks now.  I had the chance to crop with one of the owners, Doralisa, and we had so much fun that I left pumped to give one of her albums a try.  It's so fun to be able to share a local Portland area scrapbook manufacturer with all of you.  Keep reading for links to the Punky Sprouts site & Facebook page, so you can ask your local scrapbook store to carry these awesome albums!

Here are a couple sneak peeks at my first project, using Chatterbox papers & embellishments, along with some great Kaisercraft paint colors!

Here's a quick look at the pages included in the Punky Posh album....

I'll share my take on this great album concept next week!

Head on over to the Punky Sprouts site to check out all their great albums!  I'm working on Punky Posh and Prim & Punky right now.  Punky Sprouts is on Facebook too & looking for a few more fans, tell them Julie sent you!

Just a little reminder to join me over at my fellow Portlander, Ann's, Virtual Girls' Night Out.  Join the party, every Friday night!  Ann's got a great music video, a yummy drink recipe and lot's of fun bloggers to hang with!  Get & Give tons of comments and find more followers for your blog!  Of course, you can visit Ann anytime...it doesn't have to be a Friday for you to get a laugh out of her adventures!

I also hang out every Tuesday at Today's Creative's Get Your Craft On party.  Head on over to another of my Pacific Northwest peeps' blog to find a huge list of links to other creative blogs.  Kim features a new creative blogger almost everyday and the huge Get Your Craft On blog hopping party every Tuesday.


Hey all you Mom Bloggers!!!!  Don't forget to head on over & check out all the fun, prizes & friends at 5 Minutes for Mom's Ultimate Blog Party 2010!

Ultimate Blog Party 2010

Join me & enter to win! I'm hoping to win #6 The Double Stacked a lot of Love Necklace, #11 $100 Gift Certificate to Restaurant.com and #17 The Books Found Art and Real Women Scrap!!!! Wish me luck!!!!!!!!!!!

LinkWithin

Related Posts Plugin for WordPress, Blogger...