Showing posts with label ribbon. Show all posts

Tuesday, January 14, 2014

December Daily 2013 with the Heidi Swapp Believe Memory File Album Days 6-15


As always, for me, creativity is messy!
I got to work catching up on my December Daily today.  I have all the photos edited and uploaded and most are printed.  All but a couple journal cards are written on.  Pretty good, since I'll be sharing my 2012 December Daily soon (just finished it in December 2013).  So, you see why I'm so happy with how much I have done this year!  I keep my supplies in a couple little bins and a ziplock bag.  I chose everything to match my Believe collection from Heidi Swapp...red, lime-ish green, black, white, and some gold & silver thrown in for good measure...stamps, ink, ribbon, twine, stickers, washi, whatever I could find in those colors went into the little containers or baggie.  Then I knew it wouldn't be too difficult to throw together a few pages when I had time.  Of course, my time didn't free up until the second week in January.  But, I think that's how it is for a lot of us.  We're so busy with family, friends, parties, making gifts, cleaning house, etc. during the holidays that these projects can easily get tossed into that box of 1/2 finished projects.  I did really try to keep up on the photos this year though, so at least I'd have the photos to go by when the time came around.  So, here's what I have for days 6-15. I get to work on the rest and be back to share soon!


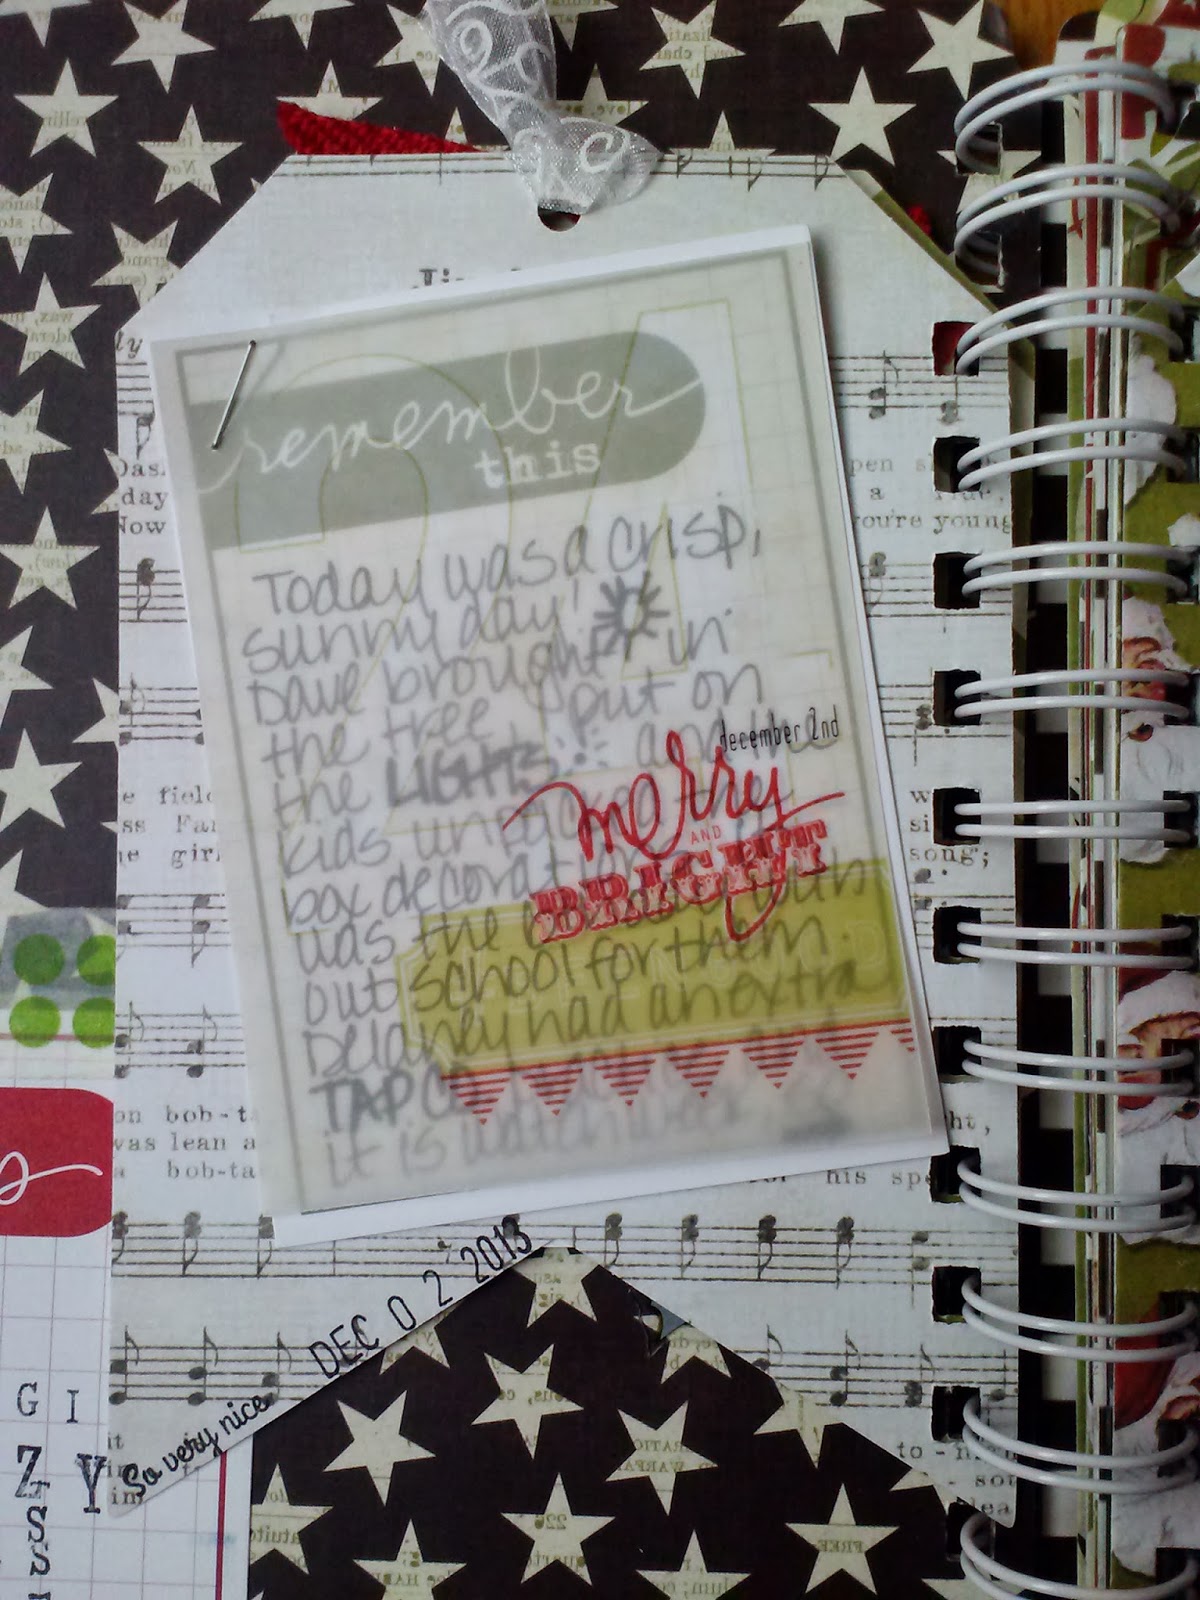
I'm continuing to use the cute little countdown cards that Heidi posted FREE on her blog this year as overlays, printed on vellum, topping my Technique Tuesday Story cards. I love seeing all the Christmas prettiness on my pages before seeing the handwritten cards. And maybe people will have to stop & look around a bit before they find the journaling.


I added a cute little word grain tag to this one! And I love the die cut, so my photo from Day 7 can peek through.


The 7th was a fun day! My daughter, Delaney, teaches a monthly kids class at the scrapbook store where I work, here in Beaverton, Oregon. She has a great time! Then after, we snuck out for some Christmas shopping & lunch, just us girls.


I added some sequins and silver ink to give this page a little flair. I attach my sequins with mini glue dots. Wet glue might work too, but I design these pages quickly & move on to the next...no time for glue to dry.


I'm having fun using Heidi's little ephemera pack in this album!  It's SO nice to have all my embellishments ready & waiting in a little baggy! I poured all the ephemera into a baggy and separated the black number stars, just so it's easier to find the number I need for each page without going through the entire bag!


What goes with December more than a blinking Rudolph nose...


Or a neon green wig!?
For the main embellishment on this page, I used one of Heidi's Freebie tags I had printed from last year. I trimmed it and adhered it to my very favorite red...Kisses from the Vintage Collection by Core'dinations. Then I left a little border and trimmed around the tag. Kisses matches tons of reds from many designers and adds just the right amount of texture to my projects even without sanding or tearing it.


We had the tiniest dusting of snow late at night on the ninety...it just so happens that was the week Delaney's dance studio was holding secret practices until 10pm every night for flash mob at Zoo Lights Saturday night. So, she had to make a barely visible snow angel in the driveway before going to bed with her clothes on inside out while praying for a snow day!


This cute little tag in the middle of the book was perfect for a little pile of ephemera & embellishments!


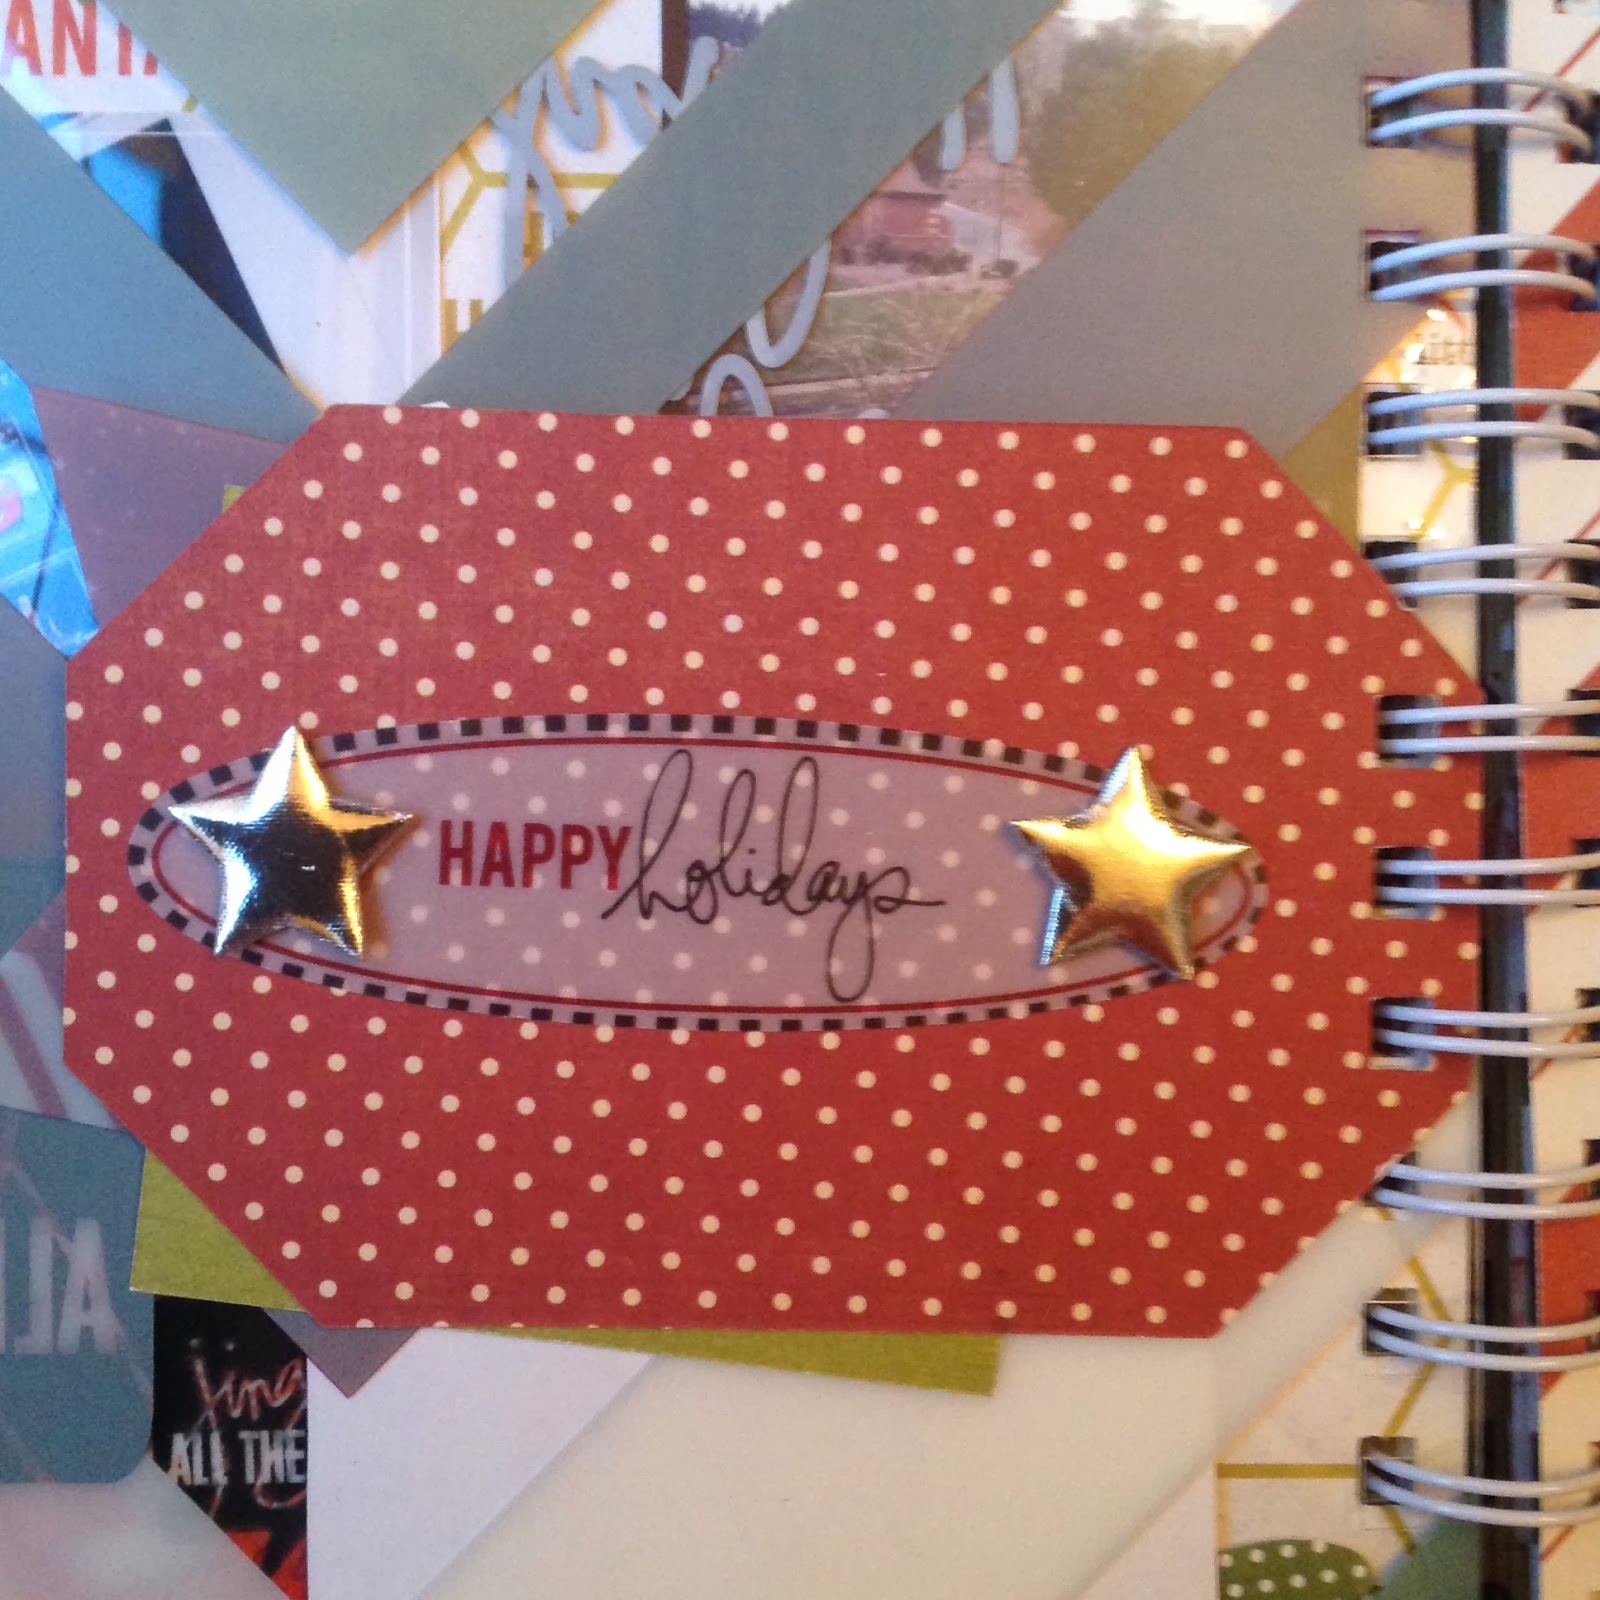
For the back of the tag, I chose a little vellum sentiment and a couple puffy silver stars. The stars are from a yard of trim I bought at a local fabric store. (Mill End, if you're looking in the Portland area.)


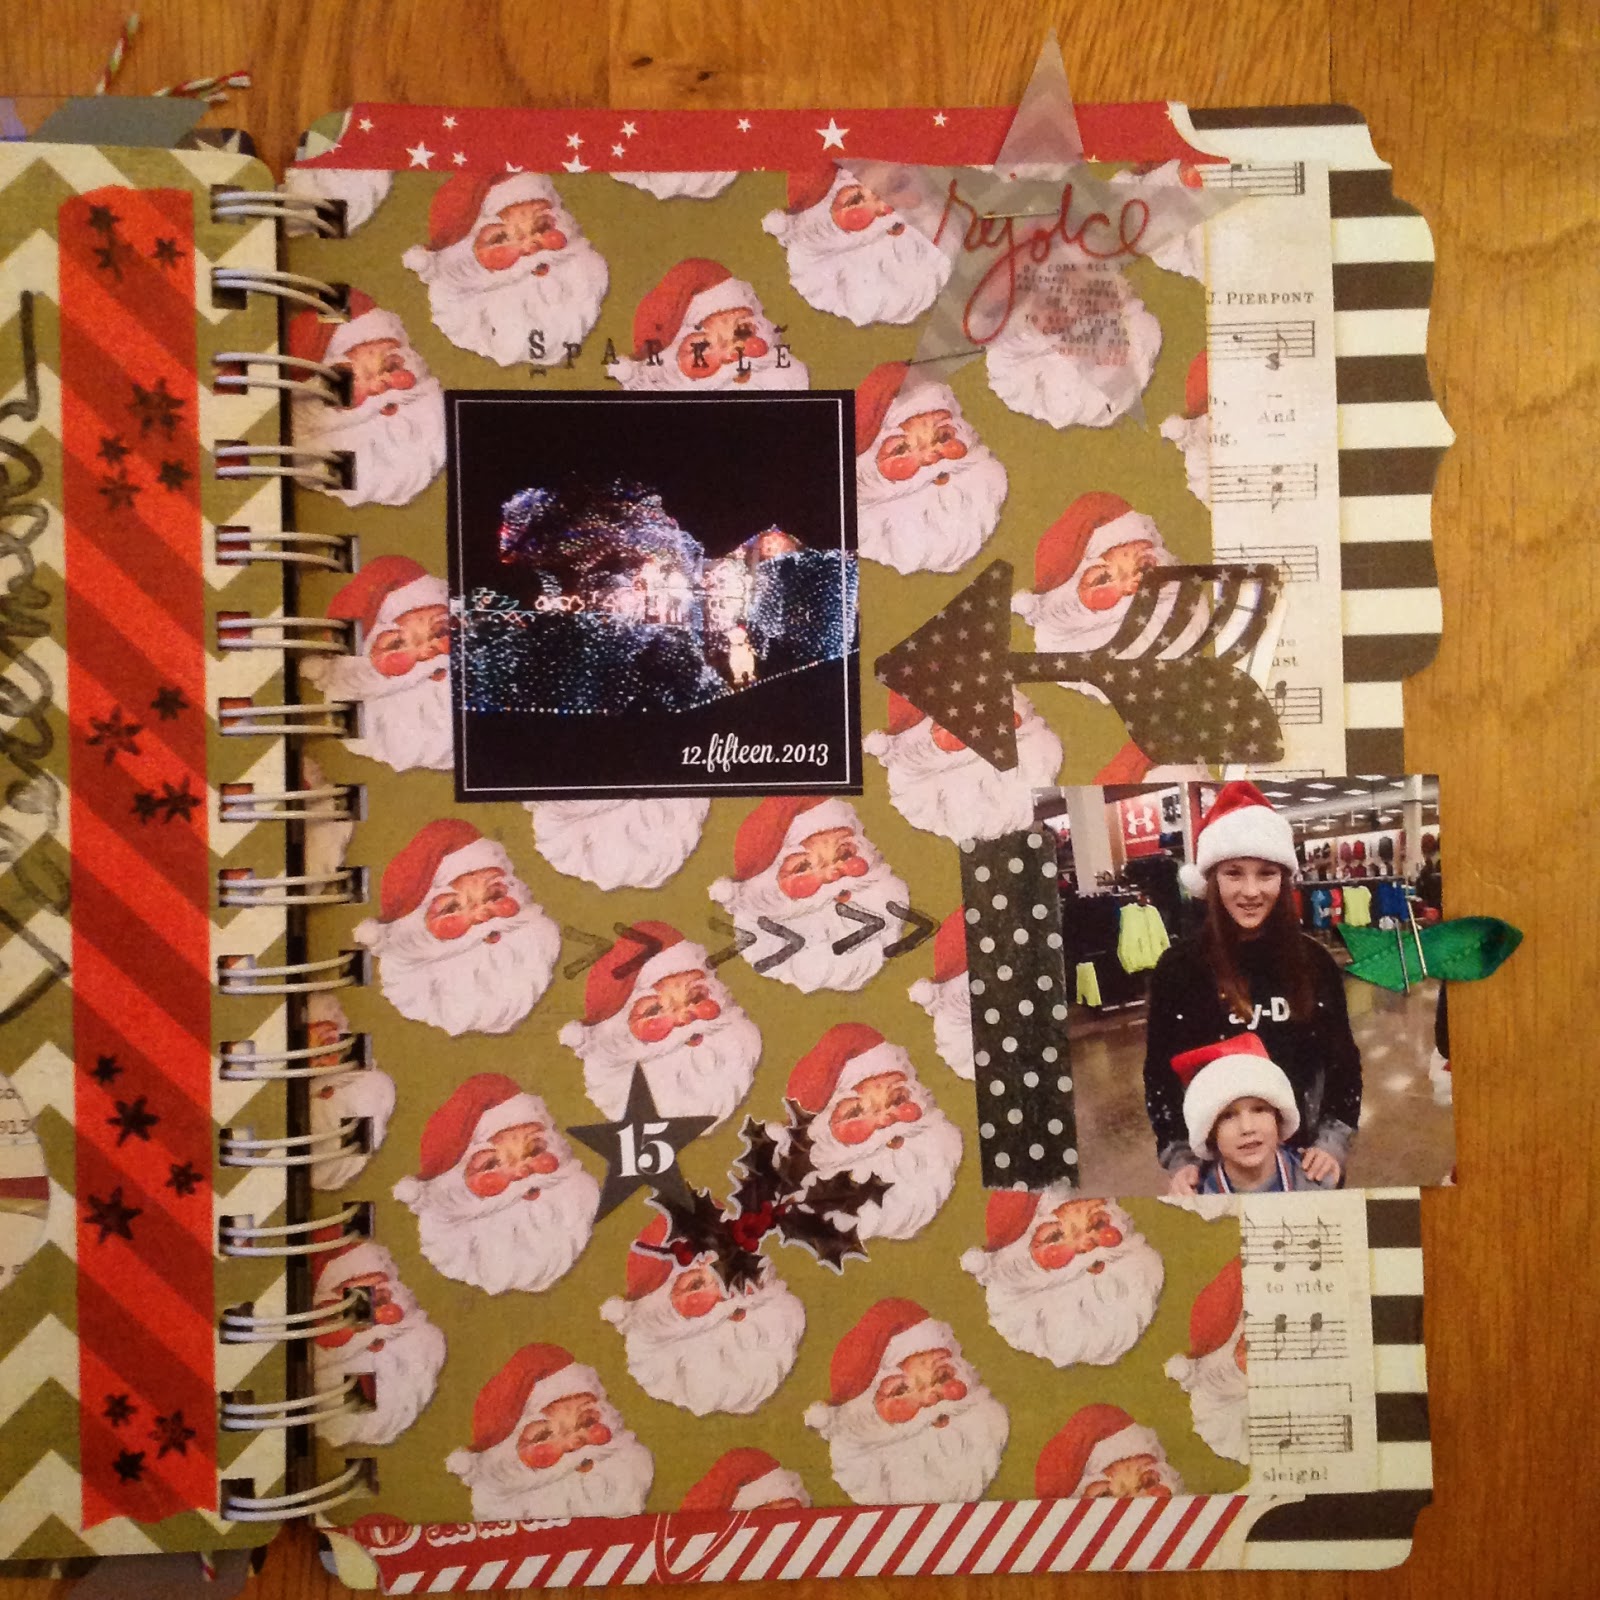
I was super excited about this bracket page with the little window for Day 10.
Since I hadn't used any garden type twine yet, I added some here in a little pile, under my acrylic "joy" piece from the ephemera pack. I think it's a little unexpected to mix such a slick, shiny, clear piece with a tangled pile of twine...that's why I LOVE it!


When you open the little flap, you find some fun photos & my journaling card with its Countdown topper for Day 10.


Day 11 has a fun little stack of photos...a selfie...trying to get myself in my albums...a photo of our backyard on this cold, icy and SUNNY day! Plus, a shot of my Christmas mantel.  Each day I'm including photos from the #heidiholidayfotofind. This is a little photo scavenger hunt, where we had a different theme each day and posted our photos on Instagram everyday. Today's clue was #wrapping paper. This year, I covered the frames on the wall above my mantel with kraft wrapping paper. I borrowed this idea from a friend who's a Super Star decorator!


On the next little tag, I added some really old ribbon and a little piece of ephemera.
I ALWAYS keep ribbon. Ribbon from packages, gifts, store packaging...anywhere really. I have two wire farm baskets on the wall above my desk in my studio. I just toss whatever I find in there & dig around whenever a project comes up. I almost always have a ribbon that will work for my project!


On the backside of the little tag, I placed my journal card & overlay.


Somehow I only had a couple photos for this day...and my kid are perfect examples of the Heidi foto find...#naughtyornice. You'll see I'm using a lot of washi in this album. This is a concerted effort to use some of those rolls I've been collecting.


This page has some stamps from the Technique Tuesday Ali Edwards December Daily collection from 2012 and also some of her new flair, just for Christ.


In addition to the Ali stamps, I have a cute little tags from Chic Tags here too!
Just a little tip...that tag is covering a stamp that didn't come out perfectly the first time! Don't forget, you're tiny tags are perfect for occasions like this! Don't forget...there are no mistakes, just opportunities to improve your project! 

Such a busy day...our 5 store tour, Passport to Creativity's holiday party was on the 14th and I had to leave early to get Delaney and some of her friends to the zoo in time for the flash mob proposal they were dancing in! Oh and Dave took Jake to watch a Duck basketball game at the arose Garden, the rode Max & got to see the tree at Pioneer Square too!


I used a super festive digi scrap kit from The Daily Digi's November collection to create this flier that was also printed as a poster.


I stamped some solid red Target washi with black Stayz On ink and some little stars from the 2013 Project Life class at Studio Calico.


For a change of pace, I hung this photo off the edge, just so you'd see the kids faces as you looked at a few pages before this one. I added a little green tab with ribbon & my trusty stapler.

Small projects like this are some of my favorites!
I love the feeling of accomplishment I feel when I actually FINISH a project!
So, don't just look at this album as exclusively for December.
You could put together a small album for all sorts of occasions...trips, anniversaries, birthdays, family, friends. The possibilities are endless, just be sure to limit your color palette and gather just a few embellishments in that palette and you're ready to add them to a small album, along with a few sheets of coordinating paper.

Until next time, don't forget to #makeityourown!

Monday, December 9, 2013

December Daily 2013 with the Heidi Swapp Believe Memory File Album

I'm SO excited about Christmas this year!  And a big part of that excitement is about my December Daily album.  The December Daily album process was conceived by the talented scrapbook designer, Ali Edwards.  I'm a huge fan of Ali's memory keeping and love the idea of documenting each day during December leading up to Christmas.  Last year, I gave this process a try and quickly got off track.  I am horrible at the journaling part of my scrapbooks and December Daily 2012 was no different...in fact, I'm confessing to you now that I just finished the journaling for my 2012 DD this week (yes, in December of 2013...).  OH, well, I guess it's just good that I finally finished that project.  I'll share it in the next week or so, as I am very happy with that album and its design.  In 2012, I kept my DD very very minimalistic and this year, I've gone crazy with fun holiday embellishments.

This year, I chose the beautiful Believe Memory File Album from Heidi Swapp.  This album is perfect for my love of mixing patterns and page types in my mini albums!  The album comes bound and filled with all sorts of shapes and materials for it's pages.  Pages include patterned paper and acrylic in several shapes including banners, tags, brackets, pages with die cut frames and so much more!  At first, I thought I would take the album apart and reorder the pages.  But, in an effort to stay simple, I left the album "as is" and I am SO happy I did.  The album is perfect, so why waste time rearranging that I could spend embellishing!  My only purchases for this DD were the Memory File Album and a pack of Believe ephemera.  I gathered all my green, red, black & white, "holiday-ish" embellishments...ribbon, twine, die cuts, stickers, tags, washi, my stapler and my Story Card Dies & stamps from Technique Tuesday.  I am adhering my photos in a few ways this year, washi, staples and of course, adhesive.  All my adhesives are from Plus Corp.  I love how easy their dispensers are to use and that they have economical refills.  I use permanent adhesive.  I find that you can lift and rearrange your items, even with the permanent adhesive, if you move quickly.  I have the permanent tape and dots from Plus in two widths, this makes it simple to adhere both large and small pieces, quickly.  I put everything in a couple small containers and leave them on the kitchen counter, so I can pull together a page quickly and move on to the next day.

Just a note about my photos.  I shoot all my photos for this project with either my Android phone or my iPad.  At the end of the day, when I find the photos I want to include, I edit them in the Rhonna Designs App.  (I use the app on my iPad, so I email my phone photos, so I can access them on my iPad for editing.) I love square photos, so almost all my photos are square.  I sometimes add some of Rhonna's clip art to my photos, usually 2 or 3 for each day.  For one photo, I have been adding a white square and some type to show the date in this format 12.three.2013.  I just like how that looked and I like having the writing on my photos.  I have kept the square and white type to have some consistency to each day in my album.  I also share all my photos on Instagram.  It's a super fun way to meet other scrapbookers and photo lovers.  My Instagram name is @juliechatsblog in case you want to check out my photos.  I also found a fun contest that Heidi Swapp is having during December this year.  The contest is called #heidiholidayfotofind  She is giving out a "clue" for each day's photos.  You shoot a photo with the clue/theme for the day and use that to hashtag your photo when you put it on Instagram (a hashtag is just the number sign (#) in front of the word, no spaces, so people can search to see other photos with the same hashtag).  It's fun to join in this game (Heidi is also giving away cool prizes!) and meet other's participating each day.  I am printing my photos at home, so I can stay as caught up as possible.  I lay my photos out in Microsoft Publisher.  Publisher makes it easy to put guidelines in and line up my photos, so they are the same size from day to day.  I print my photos on my HP7650, using matte 8 1/2 x 11 photo paper from Staples.  Usually two or three days worth of photos fit on one sheet.  I've been using regular scissors to cut my photos before putting them in my album.

I should get to sharing all the photos of my album so far, through Day 5.  I'll share the next five days soon!


Day 1:  I positioned one of my photos to show through the die cut tag and added the numbered star for my date and a small acrylic holly piece adhered with a staple.  I added an arrow created with a Story Card Die from Technique Tuesday. (These dies are versatile and can be used for Project Life, cards, traditional scrapbooking and many other projects.  I use mine with the Epic 6 machine from Lifestyle Crafts)


 On the back side of the tag, I added a second photo, both are adhered with red washi.  On each page, I am stamping the date with the Christmas Date Stamp Roller from Smash.  I'm also adding the "clue" from Heidi's 
#heidiholidayfotofind with a stamp I've had forever from Provo Craft.  It's a huge roller stamp that you can use to spell out words.  I have one with a large font and one with a smaller font where you can spell out longer words.

 I was excited that Heidi designed these cool Christmas Countdown cards and offered them as freebies on her blog this year.  I printed them on vellum and I'm using them as overlays for my journal cards this year.  My journaling is done on the Remember This Story Cards by Ali Edwards for Technique Tuesday.  I jot down my day's journaling on the front and then onto the back and then put the overlay on top of the card and staple both into my album.  Here's the LINK to the first set of overlay Countdown Cards from Heidi!  I'll give you the link to the next set when I get to Day 7 in my album (they're being released 6 at a time).

Day 2:


 I'm using the overlay on my journal card for each day of the month.  They are adhered with a staple!  Super Simple!


 I had three photos to include today and a pretty small tag on which to include them.  So, I started at the bottom, and adhered each of them with washi, one on top of the next, so you can flip each one up to view the next photo.


Day 3: 


I love the acrylic page for Day 3!  Under the acrylic page, I added two photos, a nice little graphic tag from Chic Tags and some fun embellishments.


Day 4:


 The Heidi die cut vellum banner from the ephemera pack looks amazing on this page!  I also added the Merry Christmas piece and my date star to this one.
 Even my washi had a 4 today! This page layout offered a lot of space for me to add a little tag from Chic Tags and washi tape.

Day 5:


I used a little ribbon, some sequins and a puffy silver star trimmed from a yard of metallic trim I found at the fabric store.  I adhered everything with Glue Dots.

I hope you enjoyed seeing my take on the December Daily album for 2013 using Heidi Swapp's Believe Memory File Album!  Such a fun way to document this festive month!

Join me back here soon for the next "five days of Christmas"!


LinkWithin

Related Posts Plugin for WordPress, Blogger...