
Showing posts with label journaling. Show all posts

Tuesday, January 14, 2014

December Daily 2013 with the Heidi Swapp Believe Memory File Album Days 6-15


As always, for me, creativity is messy!
I got to work catching up on my December Daily today.  I have all the photos edited and uploaded and most are printed.  All but a couple journal cards are written on.  Pretty good, since I'll be sharing my 2012 December Daily soon (just finished it in December 2013).  So, you see why I'm so happy with how much I have done this year!  I keep my supplies in a couple little bins and a ziplock bag.  I chose everything to match my Believe collection from Heidi Swapp...red, lime-ish green, black, white, and some gold & silver thrown in for good measure...stamps, ink, ribbon, twine, stickers, washi, whatever I could find in those colors went into the little containers or baggie.  Then I knew it wouldn't be too difficult to throw together a few pages when I had time.  Of course, my time didn't free up until the second week in January.  But, I think that's how it is for a lot of us.  We're so busy with family, friends, parties, making gifts, cleaning house, etc. during the holidays that these projects can easily get tossed into that box of 1/2 finished projects.  I did really try to keep up on the photos this year though, so at least I'd have the photos to go by when the time came around.  So, here's what I have for days 6-15. I get to work on the rest and be back to share soon!


I'm continuing to use the cute little countdown cards that Heidi posted FREE on her blog this year as overlays, printed on vellum, topping my Technique Tuesday Story cards. I love seeing all the Christmas prettiness on my pages before seeing the handwritten cards. And maybe people will have to stop & look around a bit before they find the journaling.


I added a cute little word grain tag to this one! And I love the die cut, so my photo from Day 7 can peek through.


The 7th was a fun day! My daughter, Delaney, teaches a monthly kids class at the scrapbook store where I work, here in Beaverton, Oregon. She has a great time! Then after, we snuck out for some Christmas shopping & lunch, just us girls.


I added some sequins and silver ink to give this page a little flair. I attach my sequins with mini glue dots. Wet glue might work too, but I design these pages quickly & move on to the next...no time for glue to dry.


I'm having fun using Heidi's little ephemera pack in this album!  It's SO nice to have all my embellishments ready & waiting in a little baggy! I poured all the ephemera into a baggy and separated the black number stars, just so it's easier to find the number I need for each page without going through the entire bag!


What goes with December more than a blinking Rudolph nose...


Or a neon green wig!?
For the main embellishment on this page, I used one of Heidi's Freebie tags I had printed from last year. I trimmed it and adhered it to my very favorite red...Kisses from the Vintage Collection by Core'dinations. Then I left a little border and trimmed around the tag. Kisses matches tons of reds from many designers and adds just the right amount of texture to my projects even without sanding or tearing it.


We had the tiniest dusting of snow late at night on the ninety...it just so happens that was the week Delaney's dance studio was holding secret practices until 10pm every night for flash mob at Zoo Lights Saturday night. So, she had to make a barely visible snow angel in the driveway before going to bed with her clothes on inside out while praying for a snow day!


This cute little tag in the middle of the book was perfect for a little pile of ephemera & embellishments!
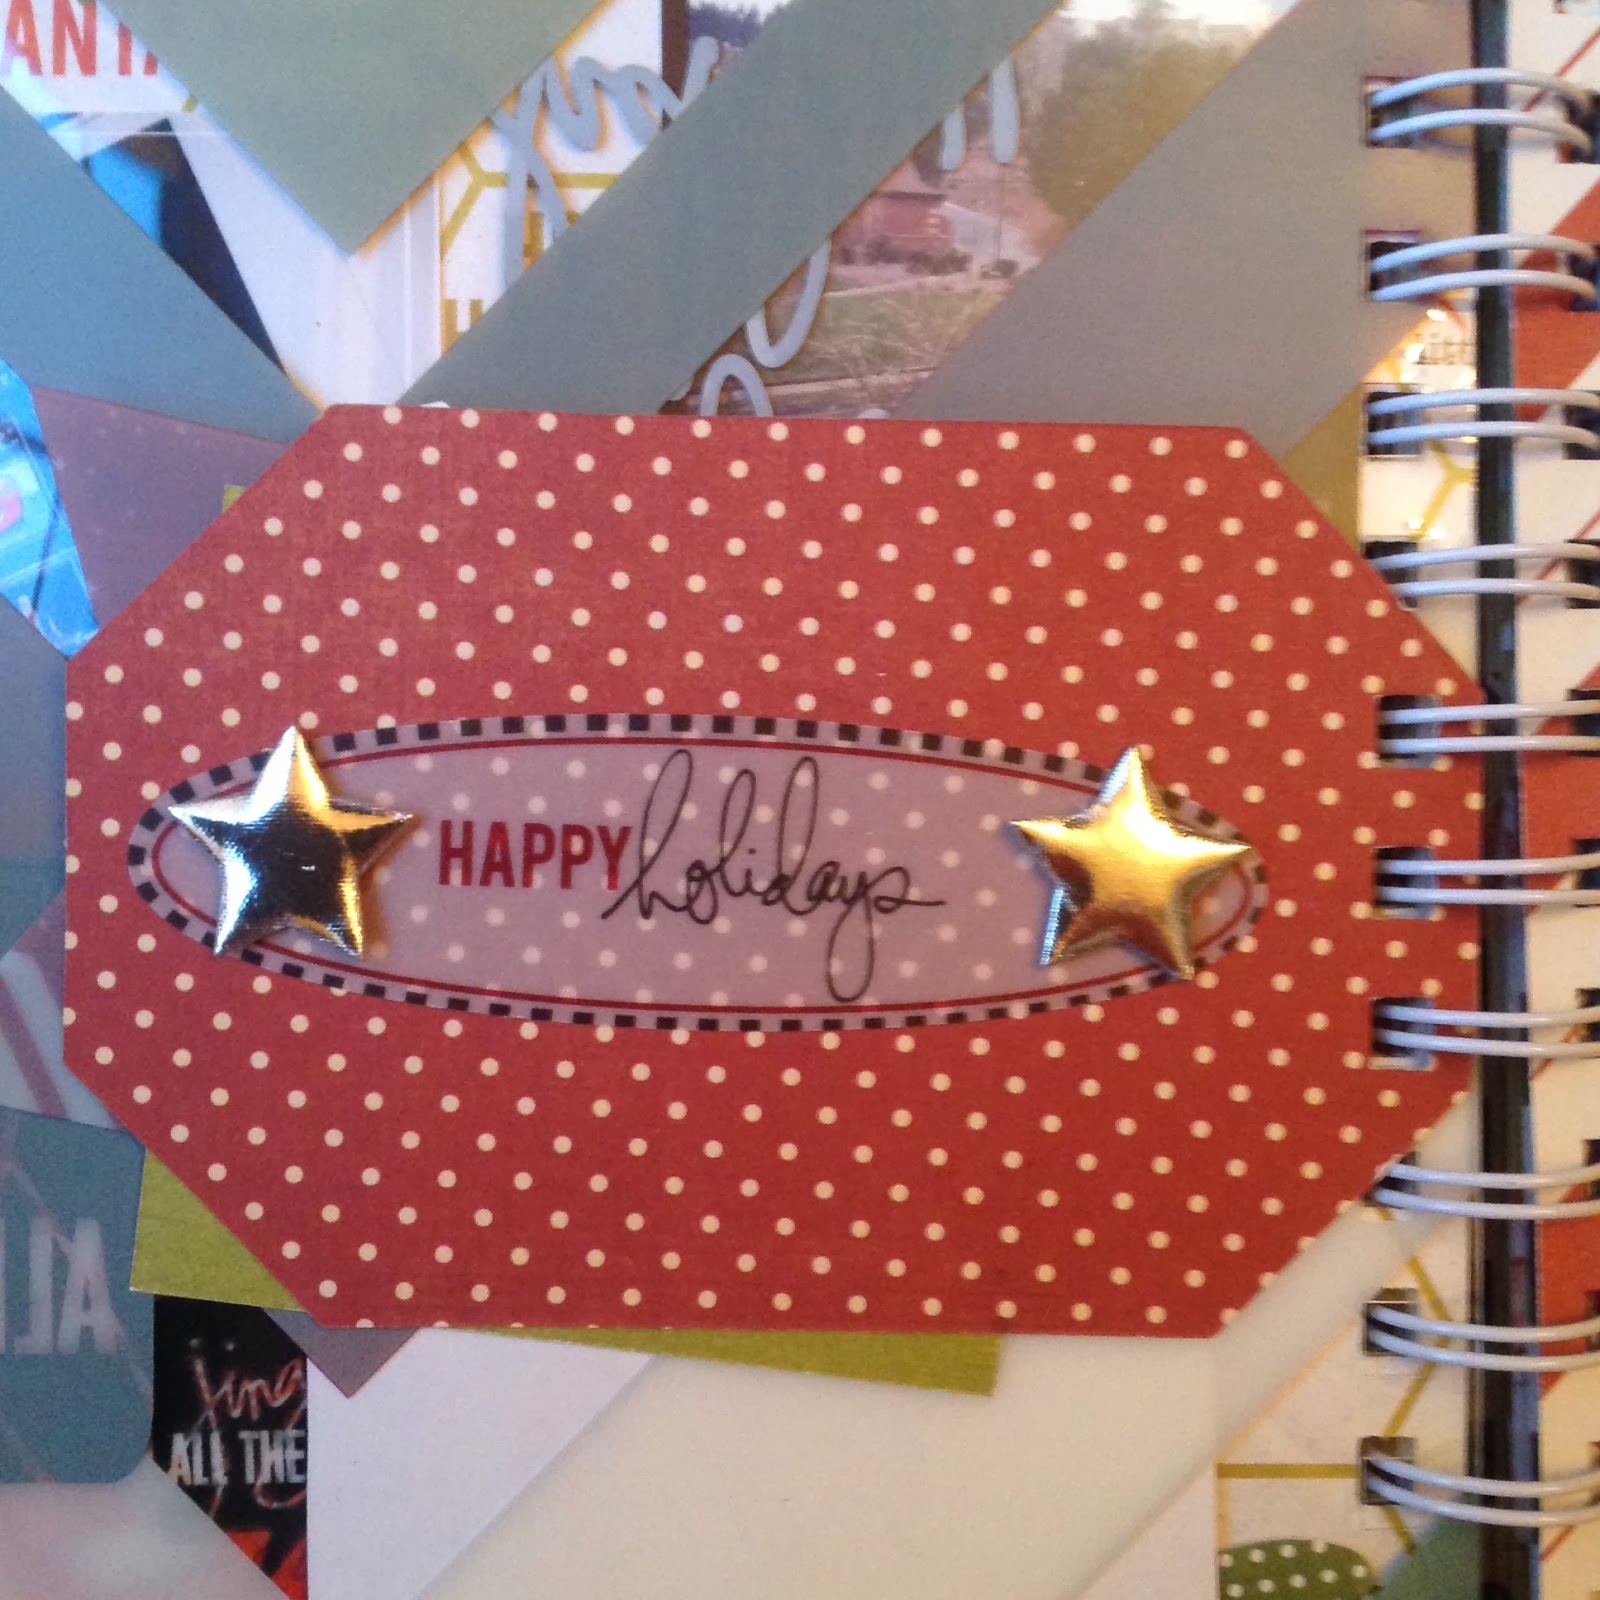

For the back of the tag, I chose a little vellum sentiment and a couple puffy silver stars. The stars are from a yard of trim I bought at a local fabric store. (Mill End, if you're looking in the Portland area.)


I was super excited about this bracket page with the little window for Day 10.
Since I hadn't used any garden type twine yet, I added some here in a little pile, under my acrylic "joy" piece from the ephemera pack. I think it's a little unexpected to mix such a slick, shiny, clear piece with a tangled pile of twine...that's why I LOVE it!


When you open the little flap, you find some fun photos & my journaling card with its Countdown topper for Day 10.


Day 11 has a fun little stack of photos...a selfie...trying to get myself in my albums...a photo of our backyard on this cold, icy and SUNNY day! Plus, a shot of my Christmas mantel.  Each day I'm including photos from the #heidiholidayfotofind. This is a little photo scavenger hunt, where we had a different theme each day and posted our photos on Instagram everyday. Today's clue was #wrapping paper. This year, I covered the frames on the wall above my mantel with kraft wrapping paper. I borrowed this idea from a friend who's a Super Star decorator!


On the next little tag, I added some really old ribbon and a little piece of ephemera.
I ALWAYS keep ribbon. Ribbon from packages, gifts, store packaging...anywhere really. I have two wire farm baskets on the wall above my desk in my studio. I just toss whatever I find in there & dig around whenever a project comes up. I almost always have a ribbon that will work for my project!


On the backside of the little tag, I placed my journal card & overlay.


Somehow I only had a couple photos for this day...and my kid are perfect examples of the Heidi foto find...#naughtyornice. You'll see I'm using a lot of washi in this album. This is a concerted effort to use some of those rolls I've been collecting.


This page has some stamps from the Technique Tuesday Ali Edwards December Daily collection from 2012 and also some of her new flair, just for Christ.


In addition to the Ali stamps, I have a cute little tags from Chic Tags here too!
Just a little tip...that tag is covering a stamp that didn't come out perfectly the first time! Don't forget, you're tiny tags are perfect for occasions like this! Don't forget...there are no mistakes, just opportunities to improve your project! 

Such a busy day...our 5 store tour, Passport to Creativity's holiday party was on the 14th and I had to leave early to get Delaney and some of her friends to the zoo in time for the flash mob proposal they were dancing in! Oh and Dave took Jake to watch a Duck basketball game at the arose Garden, the rode Max & got to see the tree at Pioneer Square too!


I used a super festive digi scrap kit from The Daily Digi's November collection to create this flier that was also printed as a poster.


I stamped some solid red Target washi with black Stayz On ink and some little stars from the 2013 Project Life class at Studio Calico.
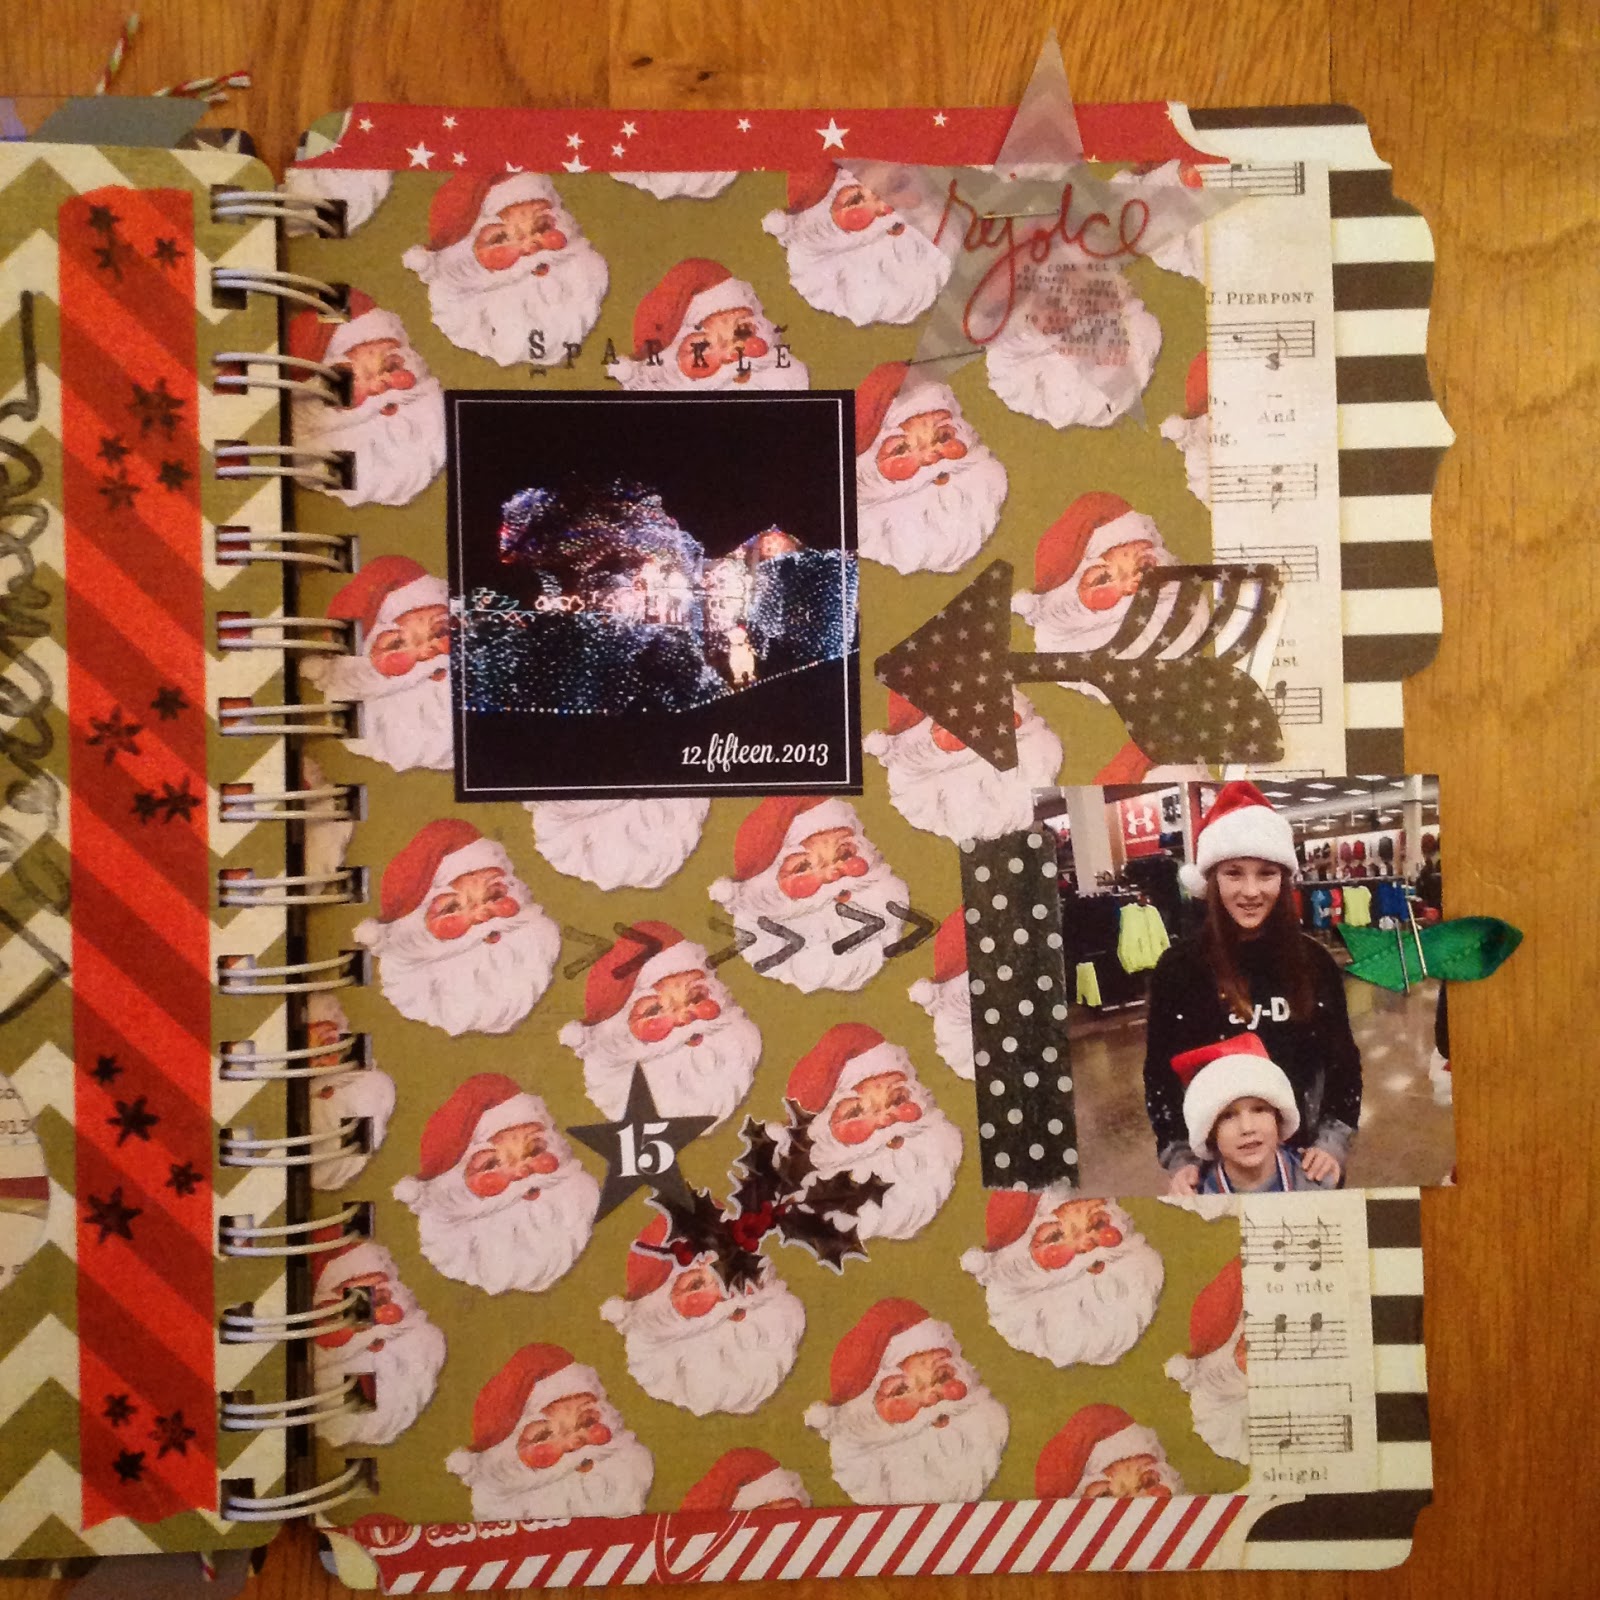

For a change of pace, I hung this photo off the edge, just so you'd see the kids faces as you looked at a few pages before this one. I added a little green tab with ribbon & my trusty stapler.

Small projects like this are some of my favorites!
I love the feeling of accomplishment I feel when I actually FINISH a project!
So, don't just look at this album as exclusively for December.
You could put together a small album for all sorts of occasions...trips, anniversaries, birthdays, family, friends. The possibilities are endless, just be sure to limit your color palette and gather just a few embellishments in that palette and you're ready to add them to a small album, along with a few sheets of coordinating paper.

Until next time, don't forget to #makeityourown!

Thursday, November 5, 2009

Layout of the Week - Children of the Corn


In honor of Halloween, I created this fun layout last week. Our first outing of the Fall was a trip to The Pumpkin Patch on Sauvie's Island, just outside of Portland. If you're in the area, you should definitely add it to your Fall list next year. They've got a great maze, farmer's market, lot's of food booths...elephant ears, corn on the cob, carmel apples, sausage, burgers, loaded baked potatoes...animal barn, gift shop, hayride to the pumpkin patch (or skip it if it's too muddy & pick one from the huge pile next to the market) and of course a HUGE maze. This year's maze was a tribute to the Portland Trail Blazers, check out the photo in my layout.

This layout was my first effort at designing to someone else's sketch. I have all sorts of sketches & sketch books in my inspiration pile, but this is the first one I've done right to the sketch...pretty much, anyway. I created it for a layout call from Ella Publications. It was a lot of fun to try a technique that I've recommended to so many people, but haven't tried myself. I'm near the end of a set of 6 beginning scrapbooking classes where I've designed the layout, then created a sketch and kit for the participants. We'll be starting the classes again in January if you're in the Portland area and in need of some scrapbooking support! They're at the Hillsboro Library and they're FREE! I'll post about them when we've got the dates firmed up.

I was excited to use the Eerie collection from Basic Grey. I'm a big fan of using all sorts of patterns together in my layouts and Basic Grey's collections are some of my favorites. This layout features black vinyl THICKERS from American Crafts, I was excited to be able to create this title from a set I've used for two other layouts. That just shows you that the packs of THICKERS really give you a great selection of letters. My journal box is a tag from 7 Gypsies, I filled in the blanks and then wadded it up and stretched it out again, inking the edges & creases. I inked the outside edge of the layout with black ink to bring everything together. I put my little spin :) on the sketch, by tilting my layout, trimming the edges & mounting it on one last patterned paper...sneaking in another pattern...YEAH! My favorite embellishments on this page are my trusty garden twine (seem to be using it a lot recently) and the little black spiders were in a pack in my Halloween decorations, so they practically "jumped" onto the page as I created it!

I hope you're inspired to design your next layout from a sketch! Check out these cool sites for some great sketches:

52 Sketches ... a new sketch every week

got sketch? ... they've got 92 sketches on their site right now!

Creating Keepsakes Magazine ... all sorts of FREE sketches to download and also lot's of other cool downloads, brushes for you digital scrappers, journal boxes & tons more!

Tips

Give the sketch technique a try. Maybe keep to the original sketch your first time, if you're nervous. Then let your creativity go wild! Rotate the sketch 90 degrees, flip it over for a mirror image on the facing page, set your design askew on another piece of paper (what I did on this one), use journal boxes, embellishments or patterned paper in place of some of the photos...the ideas go on & on!

Use a tag instead of a journal box on one of your layouts.

Check out your gardening supplies, use twine instead of ribbon on your next project.

Supply List

Basic Grey Eerie collection papers

American Crafts THICKERS - Daiquiri black vinyl letters

Thick Twine (not sure of manufacturer)

Mini GlueDots

7 Gypsies Tag

Small plastic spiders (not sure of manufacturer) - found them in my Halloween decorations

Tuesday, October 27, 2009

Layout of the Week - I Love Your SMILE!


I was so excited to see the challenge handed out by the ladies at the Ella Publishing blog. They were looking for layout submissions with the title, "I Love Your Smile." That was the only criteria, just use that title. I think karma brought me to this gleeful photo of Delaney. For the past couple weeks, I've been designing baby layouts for my next beginning scrapbooking class, so I had a pack of photos of Jake when he was first born right there on the table. When I saw this page call, I flipped through the photos to see if any of them fit the title. And boy, this one jumped right out at me. This is THE happiest I have ever seen Delaney in a picture. It was taken, probably by Dave, just after Jake was born. We gave her this great I'm the Big Sister t-shirt and she was so excited, she put it right on. She was over flowing with joy that her little brother, whom she had waited so long for, was finally here! It brings tears to my eyes to look at it, when I think of how happy she was.

Her reaction to the photo, while I was creating this page, cracks me up! She looked at it and asked if it was taken when Jake was born. I said yes and that she was so happy. Being 8 1/2 now and having her brother be almost 2, she said, "I love him, but I don't know if I'm that happy about him now....he did cry a lot and...you know, mom, he's Jake." So that makes this picture that much more special to me, what a beautiful innocent smile, so excited that her baby brother is finally here. Unbeknownst to this sweet little girl are all the things about babies that aren't so fun, the SCREAMING (you have to know Jake to know I'm NOT kidding), the wet & poopy diapers, the hitting, throwing & destroying, etc. Of course she is still the happiest big sister in the world, when her little guy says her name, "Dee Dee, Dee Dee" or when he walks up to her, tilts his head, puckers his lips, closes his eyes, and cranes his neck toward her just hoping for a kiss.

Those are all reasons that this photo makes me a very happy mom! I hope you all create layouts showing something that makes you happy!

As far as the layout, I used the Cricut to cut the circles, placing my matted photo inside the largest circle to draw attention to it. I placed the title around the circle, also in an effort to draw attention to the photo. I chose journal strips for this page because a journal box might draw attention away from my photo. Inside the strips is my jounaling, "a girl was never so happy to have a little brother." I think that all the elements of this page help draw attention to Delaney's photo. I think it's important for her to have some pages in her album commemorating her brother's birth that show her reaction. He will have tons of blue pages showing all the exciting happenings after he was born and big sister needs a little attention too!

Tips

Try mixing chipboard styles when creating your titles. The mix will give your layouts a whimsical look.

If you aren't happy with the color of your chipboard, so ahead & paint it. Here I painted chipboard with both paint and glitter glue.

Don't be afraid to add other embellishments to your chipboard. Here I added ribbon, rhinestones & stickers to my chipboard shapes.

Supply List

Basic Grey June Bug collection papers
Admiral: used the back side
Park Bench: used the back side
Picket Fence: used the back side

Prizm light & medium pink textured cardstock

Pink Metallic Ribbon

KaiserCraft Basics: Rhinestones - light & dark pink and Rhinestone strips - pink

Creative Cafe pink chipboard shapes

Circle shapes all cut with the Cricut

"I" - Tim Holtz Grungeboard harlequin alphas

"your" - American Crafts THICKERS hat box plain chipboard

"SMILE" - Die Cuts with a View foil chipchatter uppercase - pink

Mrs. Grossman's casual alphabet stickers

American Crafts Memory Marker pen - soft black

Paint
Scrapbook Shades by Li'l Davis Designs - marshmallow

Ranger Adirondack Brights Acrylic Paint Dabber - raspberry

Wednesday, August 5, 2009

Layout of the Week - Blazer Game

This layout celebrates Delaney's First Portland Trailblazer basketball game. A friend gave Dave his tickets for this game. Delaney had really been wanting to see a game in person, so this was perfect timing. The two of them had a great Daddy-Daughter night out. And we're only slightly worried that sitting in the club level section, with its endless free food, has spoiled Delaney for future games! We can't wait to answer, "Yes, those specks are the players!" and "No, you can't have all the candy you want, we have to PAY for it in these seats!"

But seriously, they both had a wonderful time and can't wait to do a Daddy-Daughter Blazer game again soon!

As for me, I had a great time with this layout. I started by cutting rectangles of varying sizes & laying them down in different ways until I was happy with the left side of the layout. Then I cut shapes to match for the right side. It helps if you write the sizes of your first pieces on their reverse sides for future reference.
I love symmetry, but wanted something a little different. So I laid out the right side exactly like the left and rotated it 180 degrees, ending up with the top right corner of my double page spread the same as the bottom left.

Next, I cropped my photos the same for each side and put them down in a semi-symmetrical design.
I inked the large rectangles and photo mats with red and black inks. My final touches on this layout were ribbon and a journal box stamped with the date of the game and an index card for journaling. Lastly, I added a trophy charm accented with ribbon to the box, adhered with a Glue Dot.
As far as journaling & titles go, sometimes it's nice to skip the large title and just go with a special memory of your event. Here's what I wrote in my box: Delaney's 1st Blazer game! In the long souvenir line...Delaney, "Dad Look!" Dad, "Yes, it's a nice Christmas tree..." Delaney, "No Dad! Look up there at the TV, the game just started, we'd better get back to our seats!" DADDY'S PROUDEST MOMENT!!!

Supply List

Red & Black Textured Cardstock
White Cardstock
Scrappin' Sports Custom Paper, Blazer Basketball from Whimzee's Scrapbook Studio
Misc. Red, Black & White Ribbons
Karen Foster Mini Charm - Talents (I used the #1 trophy)
Autumn Leaves Doodle Tagged Stamp Set, True Story
Date Stamp from Joann's
Colorbox Inks Black & Scarlet
Creative Memories 1 1/2" square punch

LinkWithin

Related Posts Plugin for WordPress, Blogger...